
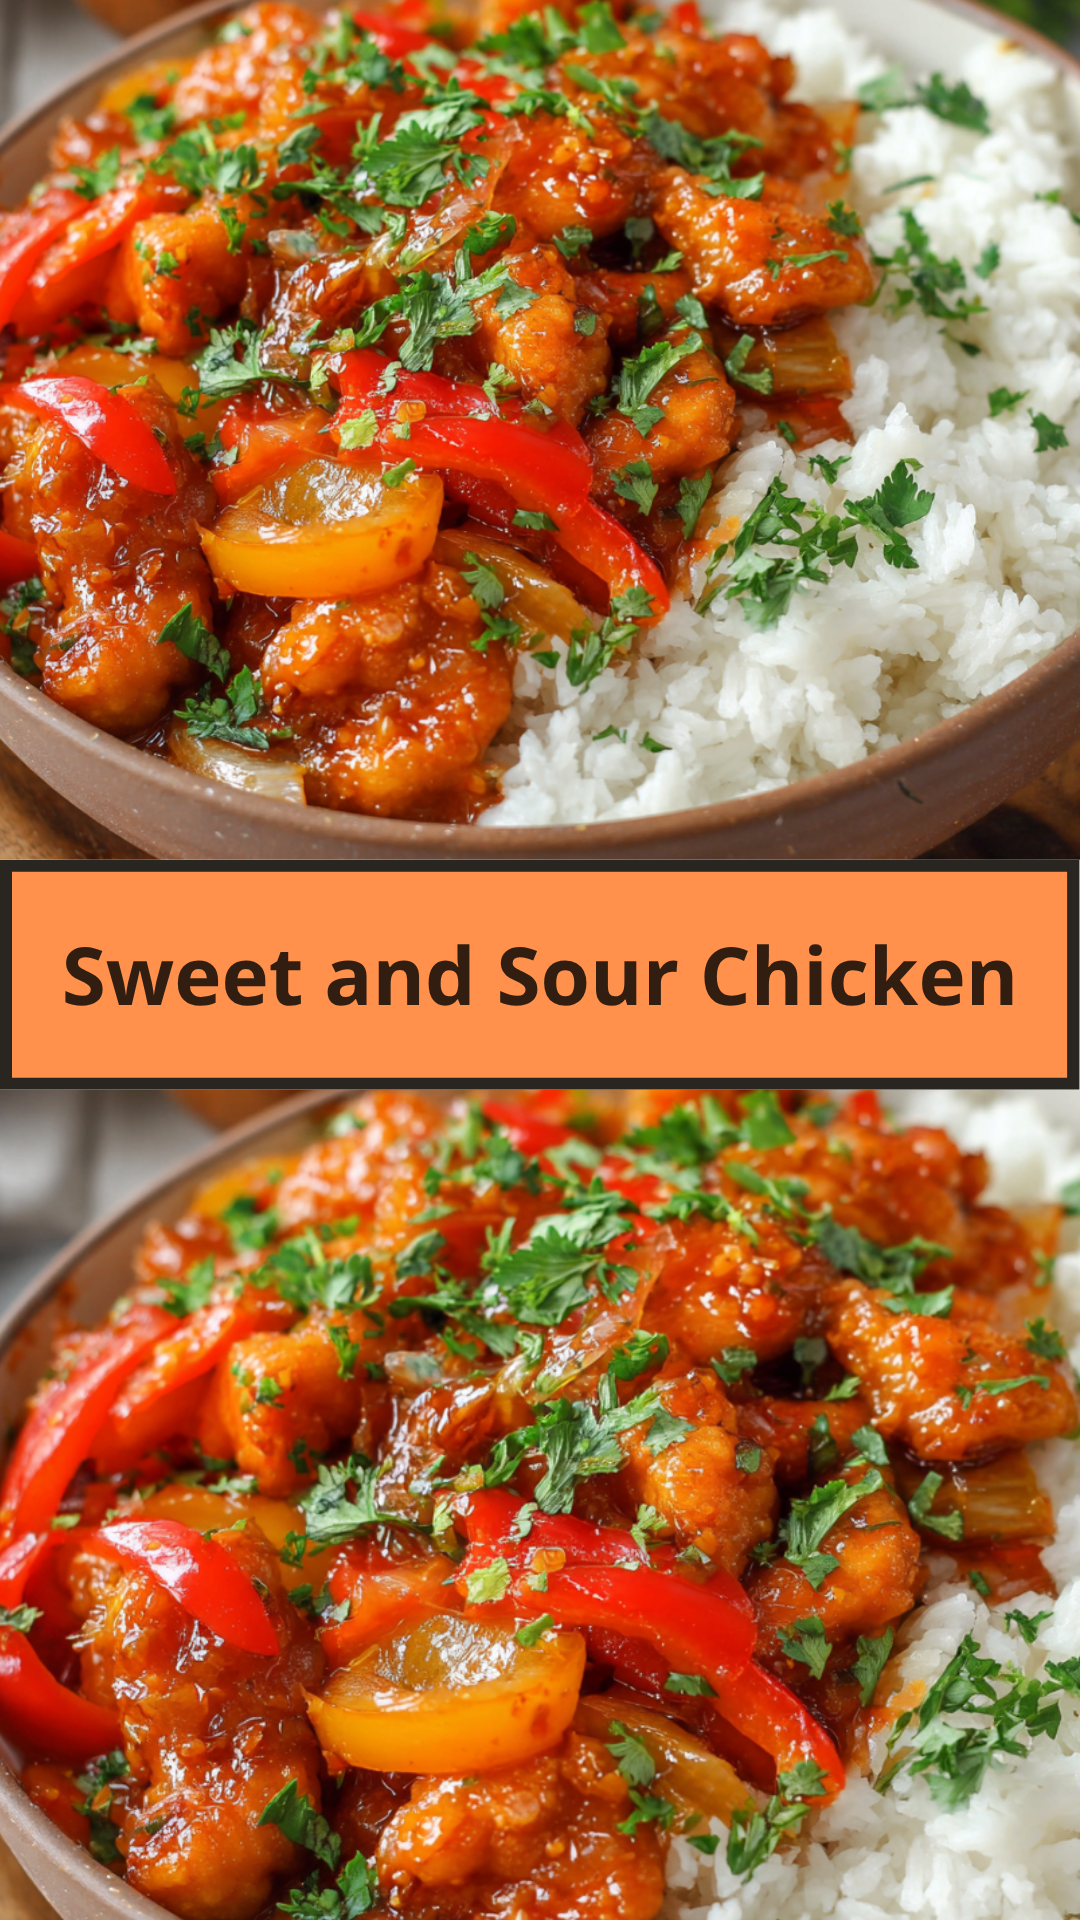
Crispy Sweet and Sour Chicken: Tangy, Sweet & Takeout-Style! 🍍🌶️🍗🍚
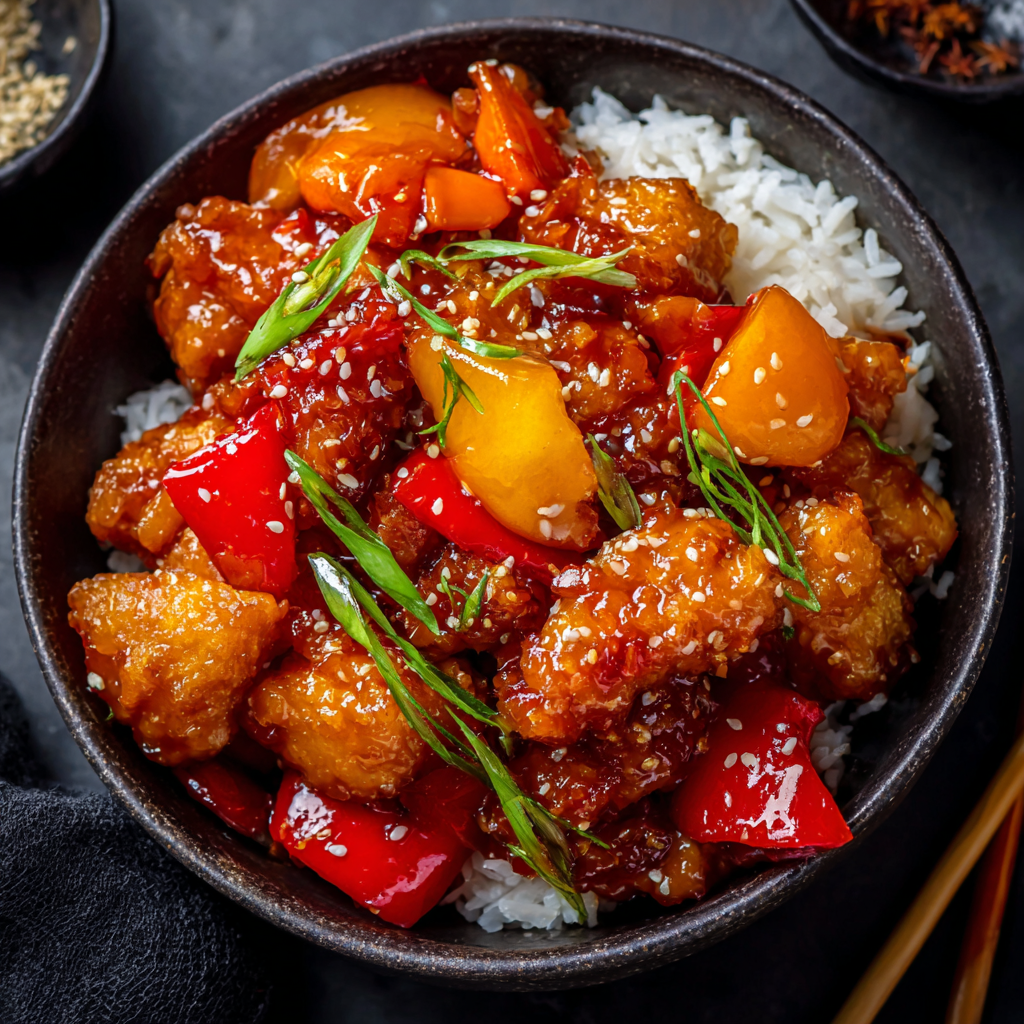
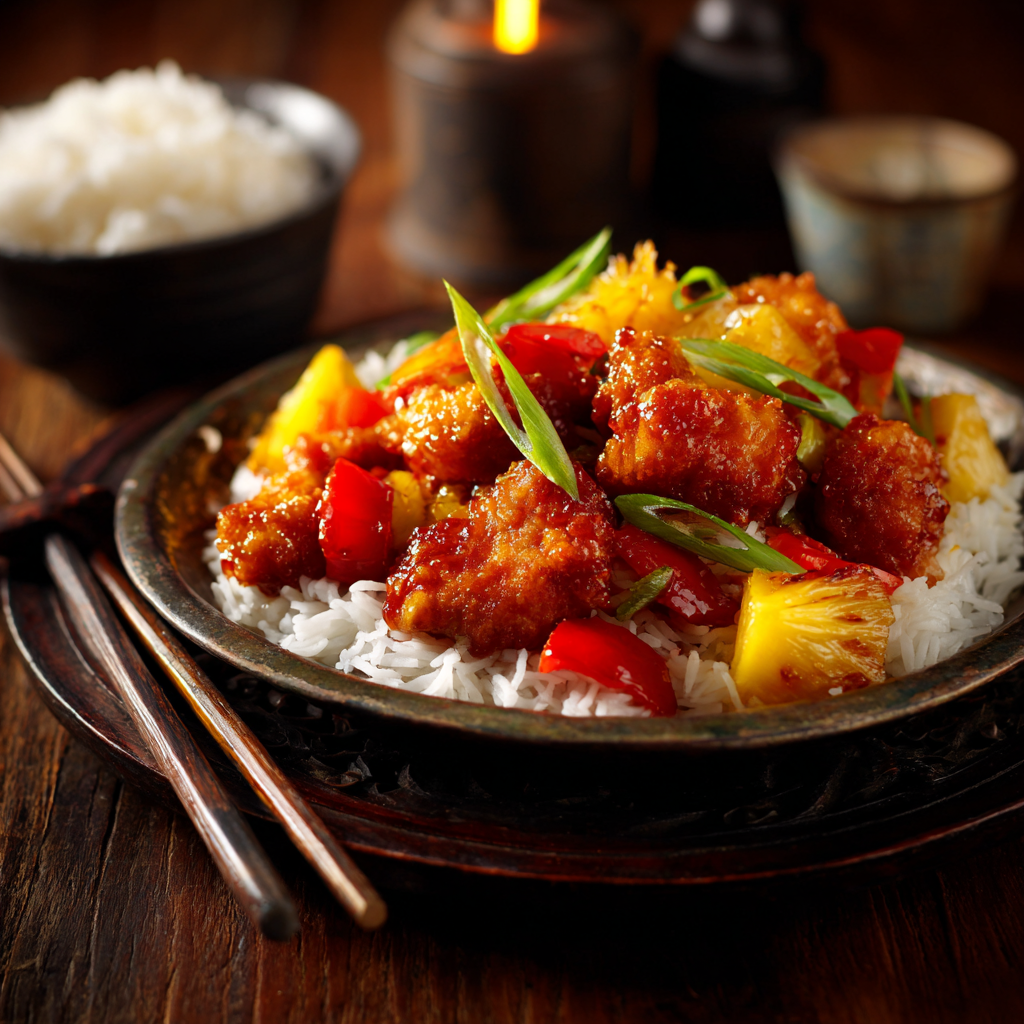
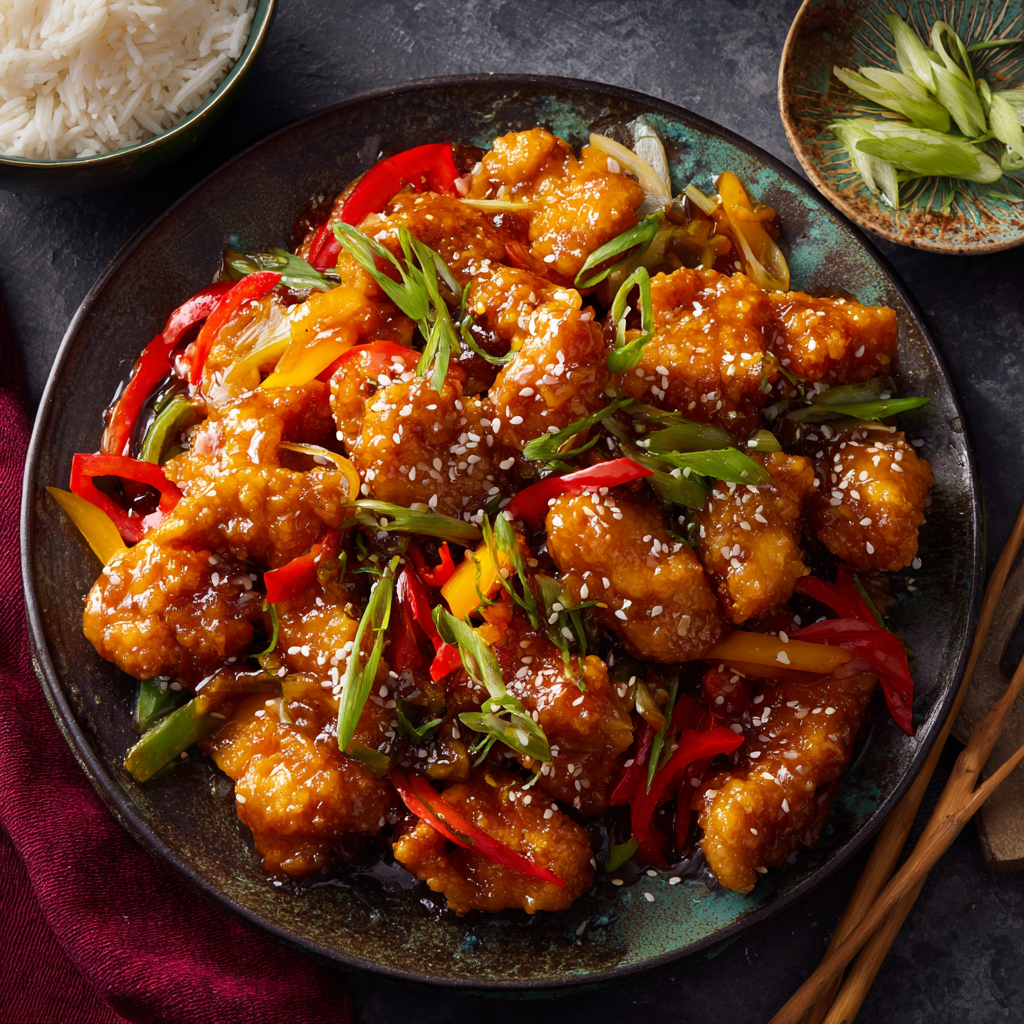
Forget ordering takeout! This recipe for Crispy Sweet and Sour Chicken brings all the irresistible flavors and textures of your favorite Chinese-American dish right to your kitchen. We’ll achieve perfectly tender chicken with a golden, crispy coating, tossed in a vibrant, balanced sweet and sour sauce, along with classic colorful bell peppers, onion, and juicy pineapple.5 It’s surprisingly easy to make and guaranteed to be a family favorite!
What Makes This “The Best”: Crispy Chicken & Balanced Sauce ✨
This recipe stands out by focusing on key elements for an authentic and delicious experience:
- Pan-Fried Crispy Chicken: We’ll use a simple cornstarch coating and pan-frying technique to get wonderfully crispy chicken without needing a deep fryer.
- Balanced Sweet & Sour Sauce: The sauce achieves that perfect harmony of sweet, tangy, and savory, with a hint of umami.
- Vibrant Vegetables & Pineapple: Adds freshness, crunch, and the classic visual appeal.
- One-Pan Sauce & Veggies: Minimizes cleanup by cooking the sauce and vegetables in the same pan after the chicken.
Ingredients: Your Sweet & Sour Essentials 🛒
This recipe serves 4.
I. For the Crispy Chicken:
- 1.5 lbs (680g) Boneless, Skinless Chicken Breasts or Thighs, cut into 1-inch (2.5 cm) bite-sized pieces
- Tip: Thighs stay juicier, but breasts work great.
- ½ tsp Salt
- ¼ tsp Black Pepper
- ½ cup (60g) Cornstarch (Cornflour in UK/Australia), plus 1 tbsp for slurry
- 2-3 tbsp Vegetable Oil (or other neutral oil like canola), divided
II. For the Sweet and Sour Sauce:
- ½ cup (120ml) Pineapple Juice (from canned pineapple, or 100% juice)
- ¼ cup (60ml) Apple Cider Vinegar (or Rice Vinegar for a milder tang)
- ¼ cup (60ml) Ketchup
- 3 tbsp Brown Sugar, packed (or granulated sugar for a slightly sharper sweetness)
- 2 tbsp Soy Sauce (low-sodium preferred)6
- 1 tbsp Cornstarch (mixed with 2 tbsp water to create a slurry for thickening)
- 1 clove Garlic, minced (about 1 tsp)7
- ½ tsp Ground Ginger (or 1 tsp fresh grated ginger)
III. For the Vegetables & Pineapple:
- 1 tbsp Vegetable Oil (or other neutral oil)
- 1 medium Green Bell Pepper, cut into 1-inch pieces
- 1 medium Red Bell Pepper, cut into 1-inch pieces
- ½ medium Yellow Onion, cut into 1-inch chunks
- 1 cup (about 140g) Pineapple Chunks (from a can, drained; fresh is also great)8
IV. For Serving:
- Cooked white or brown rice
- Optional: Toasted sesame seeds, chopped green onions (scallions) for garnish
Step-by-Step Preparation: Achieve Takeout Perfection at Home 📝
- Prepare the Chicken (10-15 minutes):
- Pat chicken pieces very dry with paper towels. Season with ½ tsp salt and ¼ tsp black pepper.
- Place ½ cup cornstarch in a large zip-top bag or shallow dish. Add the seasoned chicken pieces and shake/toss to coat completely. Remove chicken, shaking off any excess cornstarch. Set aside.
- Heat 2 tbsp vegetable oil in a large non-stick skillet or wok over medium-high heat.
- Working in batches to avoid overcrowding (this is key for crispiness), add chicken pieces in a single layer. Cook for 4-6 minutes, turning occasionally, until golden brown and cooked through. Chicken should be crispy on the outside.
- Remove cooked chicken to a plate lined with paper towels to drain any excess oil. Repeat with remaining chicken, adding more oil if needed.
- Prepare the Sweet and Sour Sauce (5 minutes):
- While the chicken cooks, whisk together all sauce ingredients (except the 1 tbsp cornstarch and 2 tbsp water for slurry) in a medium bowl: pineapple juice, apple cider vinegar, ketchup, brown sugar, soy sauce, minced garlic, and ground ginger. Whisk well until the sugar dissolves.
- In a separate small bowl, whisk together the 1 tbsp cornstarch with 2 tbsp water to create a smooth slurry.
- Cook Veggies & Finish Sauce (7-10 minutes):
- Discard any remaining oil from the skillet used for chicken (no need to wash it). Add 1 tbsp fresh vegetable oil to the skillet and heat over medium-high heat.
- Add the green bell pepper, red bell pepper, and yellow onion to the skillet. Stir-fry for 3-4 minutes, until the vegetables are crisp-tender but still have a slight bite.
- Reduce heat to medium. Give your prepared sweet and sour sauce a quick whisk, then pour it into the skillet with the vegetables.
- Bring the sauce to a gentle simmer.
- Give the cornstarch slurry another quick whisk, then slowly pour it into the simmering sauce while stirring constantly.
- Continue to simmer and stir for 1-2 minutes until the sauce thickens to a glossy, syrupy consistency that coats the back of a spoon.
- Combine & Serve (2 minutes):
- Add the cooked crispy chicken and pineapple chunks to the skillet with the thickened sauce and vegetables.
- Gently toss everything together until the chicken and vegetables are well coated in the sweet and sour sauce. Cook for just 1 minute more to heat through.
- Serve immediately over hot white or brown rice.
- Garnish with toasted sesame seeds and chopped green onions if desired.
Pro Tips for the BEST Sweet and Sour Chicken ✨
- Pat Chicken Dry: This is crucial for getting a good crispy coating. Moisture creates steam, which prevents browning and crisping.
- Don’t Overcrowd the Pan: Cook chicken in batches if necessary.9 Overcrowding lowers the oil temperature and causes the chicken to steam rather than fry, resulting in less crispy chicken.10
- Fresh Pineapple: While canned works, fresh pineapple adds a fantastic burst of flavor and a better texture.
- Balance the Sauce: Taste your sauce! Depending on your specific ingredients (e.g., sweetness of pineapple juice, saltiness of soy sauce), you might need a tiny bit more sugar or vinegar to achieve your perfect sweet and sour balance.
- Serve Immediately: The chicken is at its crispiest right after it’s tossed in the sauce. The longer it sits, the softer the coating will become.
- Prep Ahead: You can chop your chicken and vegetables in advance. You can also mix the sauce ingredients (excluding the cornstarch slurry) ahead of time and store in the fridge.
Creative Variations & Customizations 🌈
- Add More Veggies: Broccoli florets, snow peas, water chestnuts, or sliced carrots can be added with the bell peppers and onion.11
- Spicier Kick: Add ¼ – ½ tsp red pepper flakes to the sauce, or a dash of your favorite chili garlic sauce.
- Ginger Boost: Use fresh grated ginger instead of ground ginger for a stronger, fresher ginger flavor.
- Different Protein: This sauce also works wonderfully with shrimp (cook quickly!), pork tenderloin, or even firm tofu.
- Baked Version: If you prefer baking, you can bake cornstarch-coated chicken pieces on a greased baking sheet at 400°F (200°C) for 20-25 minutes, flipping halfway, until golden and crispy, then toss with the sauce.12 It might not be quite as crispy as pan-fried, but it’s still delicious!
Serving Suggestions and Perfect Pairings 🍽️
- Steamed Rice: The classic accompaniment for soaking up all that delicious sauce.
- Egg Rolls or Spring Rolls: A great appetizer to complete the meal.
- Asian-Inspired Salad: A fresh, light salad with a sesame-ginger dressing for contrast.
- Beverage: Green tea, cold beer, or a light white wine (like a Riesling) pair well.
Storage & Reheating Tips 🧊🗓️
- Storage (Cooked): Leftover Sweet and Sour Chicken is best stored in an airtight container in the refrigerator for up to 3 days.13 The chicken coating will soften over time, but the flavor remains good.
- Reheating:
- Stovetop: Reheat in a skillet over medium-low heat, stirring gently, until warmed through. You may need a tiny splash of water or broth to loosen the sauce. The chicken won’t be as crispy as fresh.
- Microwave: Reheat in individual portions, stirring occasionally.
- Freezing: While possible, it’s not highly recommended for this dish as the chicken coating will become very soft and the sauce texture can change upon thawing. Best enjoyed fresh.
Enjoy your homemade, incredibly delicious Sweet and Sour Chicken!