

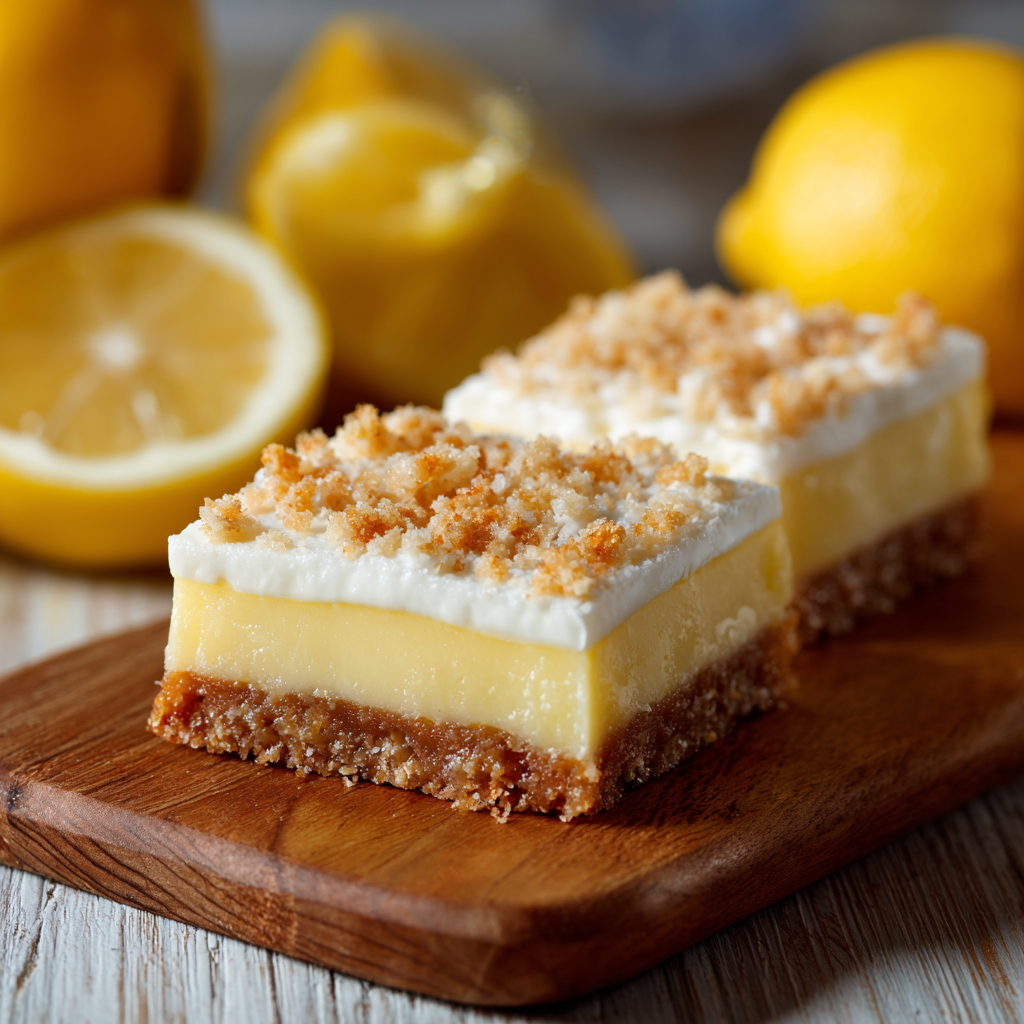
Creamy Lemon Squares with a Buttery Shortbread Crust 🍋🧈✨
Prepare to be enchanted by these Ultra Creamy Lemon Squares! Each bite delivers a perfect harmony of sweet and tart, nestled atop a rich, tender shortbread crust. The filling is smooth, velvety, and bursting with fresh lemon flavor, making these bars an irresistible dessert for any occasion, from a summer picnic to a cozy afternoon treat. They’re surprisingly easy to make and guaranteed to be a sunshine-filled success!
What Makes These “The Best”: That Silky, Bright Lemon Layer ✨
- Perfectly Balanced Tartness: Just enough fresh lemon juice and zest for a vibrant, zesty punch without being overwhelmingly sour.
- Velvety Creamy Filling: The combination of whole eggs and egg yolks creates an incredibly smooth, custard-like texture that melts in your mouth. Some recipes use sweetened condensed milk for extra creaminess, and while this recipe doesn’t use it, you can find a variation for that below.
- Buttery, Tender Shortbread Crust: A simple yet perfect foundation that’s crisp and crumbly, providing a delightful contrast to the creamy filling.
- No Fuss: Straightforward steps make this a friendly recipe for bakers of all levels.
Ingredients: Your Lemon Square Essentials 🛒
This recipe yields 16-20 squares (from a 9×13-inch pan).
I. For the Buttery Shortbread Crust:
- 2 ½ cups (300g) All-Purpose Flour, spooned and leveled
- ½ cup (100g) Granulated Sugar
- ¼ tsp Salt
- 1 cup (226g) Unsalted Butter, cold and cut into ½-inch pieces
II. For the Creamy Lemon Filling:
- 2 cups (400g) Granulated Sugar
- ¼ cup (30g) All-Purpose Flour
- 1 tbsp (about 2 medium lemons) Lemon Zest, finely grated
- 4 large Eggs
- 2 large Egg Yolks (save the whites for another use, like a meringue or egg white scramble!)
- ¾ cup (180ml) Fresh Lemon Juice (from about 3-4 large lemons)
- Optional: Pinch of Salt (to balance the sweetness)
III. For Garnish (Optional):
- Confectioners’ Sugar (icing sugar), for dusting2
Equipment Needed:
- 9×13-inch (23×33 cm) baking pan
- Parchment paper
- Large mixing bowls
- Electric mixer (stand mixer or hand mixer) or food processor (for crust)
- Whisk
- Citrus zester and juicer
- Fine-mesh sieve (optional, for ultra-smooth filling)
- Wire cooling rack
Preparation Pas-à-Pas: Crafting Your Zesty Squares 📝
Part 1: Prepare the Buttery Shortbread Crust (Prep: 10 min | Bake: 20-25 min)
- Preheat Oven & Prep Pan: Preheat your oven to 175°C (350°F).3 Line a 9×13-inch baking pan with parchment paper, leaving an overhang on the two longer sides (this will help you lift the bars out later).
- Combine Dry Ingredients: In a large bowl, whisk together the all-purpose flour, granulated sugar, and salt.
- Cut in Butter: Add the cold, cubed unsalted butter to the dry ingredients.
- Using an Electric Mixer (Stand or Hand): Beat on low speed until the mixture resembles coarse crumbs with some pea-sized pieces of butter remaining.
- Using a Food Processor: Pulse until the mixture forms coarse crumbs.
- By Hand (Pastry Blender or Fingers): Cut the butter into the flour mixture until it resembles coarse crumbs.4
- Press into Pan: Press the crumbly dough evenly into the bottom of the prepared baking pan. Use the back of a measuring cup or your fingers to compact it firmly.
- Bake Crust: Bake for 20-25 minutes, or until the edges are lightly golden.
- Cool (briefly): While the crust is baking, prepare the filling. The crust can be warm when you pour the filling on.
Part 2: Make the Creamy Lemon Filling (Prep: 10 min | Bake: 25-30 min)
- Whisk Dry Ingredients: In a large bowl, whisk together the granulated sugar and all-purpose flour. This helps prevent the flour from clumping when added to the wet ingredients.
- Add Zest: Add the lemon zest to the sugar/flour mixture and rub it in with your fingers. This releases the oils from the zest, intensifying the lemon flavor.
- Add Wet Ingredients: Whisk in the whole eggs, egg yolks, and fresh lemon juice. Whisk vigorously until the mixture is completely smooth and well combined (about 2-3 minutes). If desired, whisk in a pinch of salt.
- Strain (Optional): For an exceptionally smooth filling, you can pour the mixture through a fine-mesh sieve to remove any bits of cooked egg or zest.
- Pour over Crust: Carefully pour the lemon filling evenly over the warm, pre-baked shortbread crust in the pan.
- Bake Filling: Return the pan to the oven and bake for 25-30 minutes, or until the filling is set around the edges but still has a slight jiggle in the center when gently shaken. It will continue to set as it cools.
- Cool Completely: Remove the pan from the oven and let the lemon squares cool completely on a wire rack at room temperature for at least 1-2 hours.
- Chill for Firmness: For best results and clean slicing, transfer the pan to the refrigerator and chill for at least 3-4 hours, or preferably overnight, until the filling is very firm.
Part 3: Slice and Serve (5-10 minutes)
- Lift and Slice: Once thoroughly chilled, use the parchment paper overhang to lift the entire slab of lemon squares out of the pan and onto a cutting board.
- Trim & Cut: Using a sharp knife (a large chef’s knife or serrated knife works well), trim off any uneven edges. For neat cuts, wipe the knife clean with a damp cloth after each slice. Cut into squares or rectangles of your desired size.
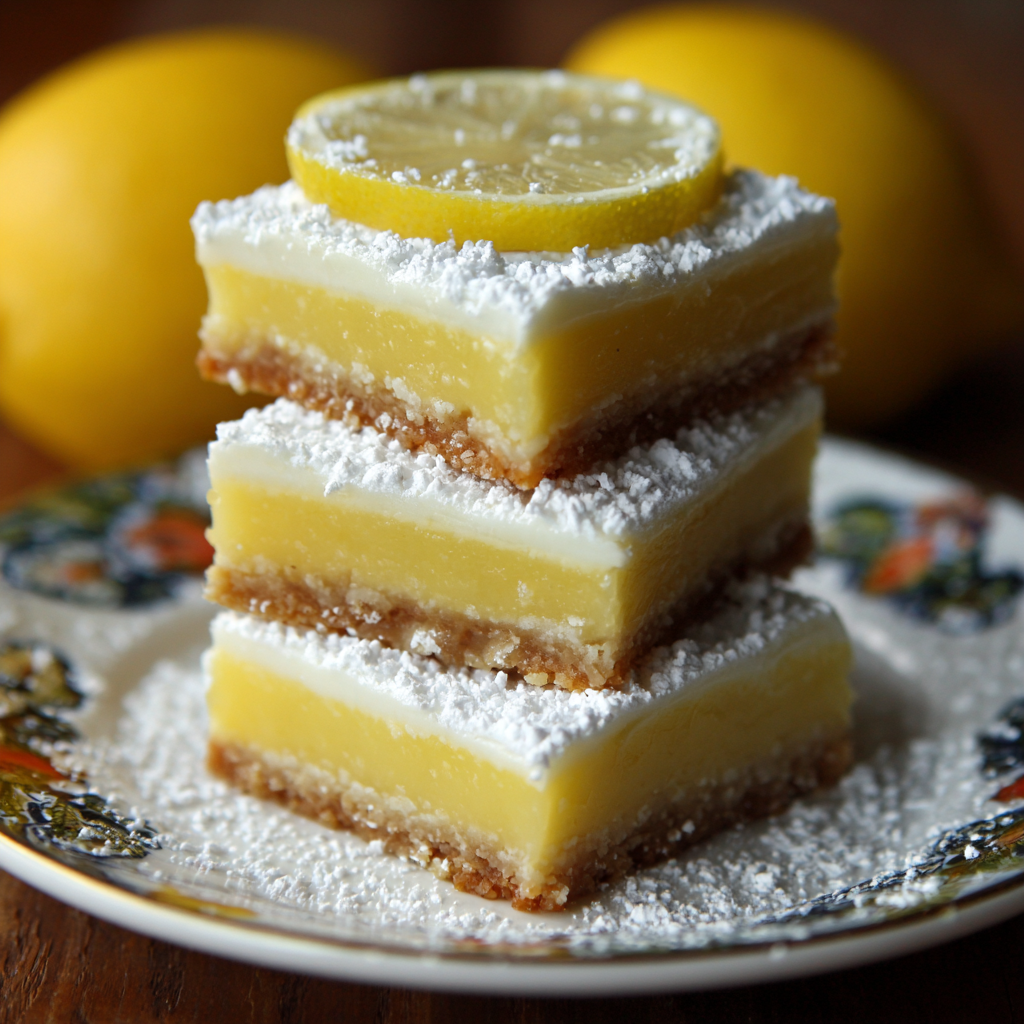
- Dust & Serve: Just before serving, dust the tops generously with confectioners’ sugar for a beautiful finish.
Pro Tips for the BEST Creamy Lemon Squares ✨
- Fresh Lemon is Non-Negotiable: Use freshly squeezed lemon juice and fresh lemon zest for the most vibrant and authentic lemon flavor. Bottled juice won’t give you the same result.
- Don’t Overbake the Filling: Overbaking can lead to a rubbery or eggy texture. The slight jiggle in the center is what you’re looking for – it will set as it cools.
- Chill Thoroughly: This is crucial for clean, firm slices. Don’t skip or rush the chilling time!
- Sift Flour for Filling: Sifting the flour with the sugar for the filling prevents lumps and ensures a smooth custard.
- Warm Crust for Best Adhesion: Pouring the filling over a warm (but not hot) crust helps the two layers adhere better, preventing separation.
- Wipe Knife Between Cuts: For super clean edges, wipe your knife with a damp cloth after each slice.
Creative Variations & Customizations 🌈
- Sweetened Condensed Milk Version: For an even richer, super-creamy filling, you can adapt the filling. Instead of eggs and yolks, whisk together 1 (14-ounce) can of sweetened condensed milk, ¾ cup fresh lemon juice, and the zest of 1-2 lemons. Pour over the baked crust and bake for 20-25 minutes.
- Cream Cheese Swirl: Beat 4 oz (113g) softened cream cheese with ¼ cup sugar and 1 egg until smooth. After pouring the lemon filling onto the crust, dollop spoonfuls of the cream cheese mixture on top and swirl gently with a knife for a beautiful marbling effect.
- Gluten-Free Crust: Use a 1:1 gluten-free all-purpose flour blend in place of regular flour for the crust.
- Almond Shortbread: Add ½ cup of finely ground almonds (almond flour) to the crust mixture for a nutty flavor.
- Lime Squares: Substitute fresh lime juice and zest for the lemon for a tangy lime bar.
- Coconut Twist: Add ½ cup of shredded unsweetened coconut to the crust mixture, or sprinkle toasted coconut on top of the finished bars.
Serving & Storage Tips 🍽️🧊🗓️
- Serving: These lemon squares are best served chilled, directly from the refrigerator. Dust with confectioners’ sugar just before serving, as the sugar can absorb moisture and disappear if applied too early.
- Storage: Store leftover Creamy Lemon Squares in an airtight container in the refrigerator for up to 5-7 days.
- Freezing: Lemon squares freeze beautifully! Place cut squares on a baking sheet and freeze until firm (about 1-2 hours). Then, transfer them to an airtight freezer-safe container, separating layers with parchment paper. Freeze for up to 2-3 months. Thaw in the refrigerator for several hours or overnight before serving. Dust with fresh confectioners’ sugar after thawing.