
Tartlet Dough: The Crispy Base for Infinite Delights
Introduction: The Edible Canvas of Baking and Savory Cooking
Tartlet Dough is a fundamental culinary preparation that serves as a crispy and flavorful base for a wide variety of fillings, both sweet and savory. Its versatility makes it an essential ingredient in baking for creating fruit tarts, custard tarts, chocolate tarts, and more, as well as in savory cooking for quiches, vegetable tarts, cheese tarts, and other delicacies. With just a few basic ingredients and a simple technique, this dough offers a perfect edible canvas to unleash culinary creativity and surprise everyone with delicious and visually appealing preparations. Discover all the secrets of this essential dough!
Detailed History in Spanish: A Crunchy Legacy Through the Centuries
The history of shortcrust pastry, of which tartlet dough is a variant, dates back to ancient times. Ancient civilizations, such as the Egyptians, Greeks, and Romans, already prepared doughs based on flour and fat to contain fillings of meat, fruit, and other ingredients. However, tartlet dough as we know it today evolved over the centuries in European pastry making.
Early Doughs: Early versions of doughs were often thicker and less refined than today’s. They were primarily used as a container for cooking the filling, and were sometimes not eaten.
The Evolution of Shortcrust Pastry: Over time, flour milling techniques improved, and the properties of butter and other fats were discovered to create more tender, flaky pastries. The addition of sugar to sweet versions gave rise to the perfect bases for fruit tarts and custard tarts.
The Tartlet as an Individual Form: The idea of creating individual portions of tarts, known as tartlets, probably arose as a practical and elegant way to serve desserts and appetizers. These small pastry cases allowed for a wider variety of fillings and a more elegant presentation.
The basic recipe of flour, butter, egg, and a touch of sugar or salt has endured over time, although the proportions and preparation techniques may vary slightly depending on regional tradition and the desired result. The key to a good tartlet dough has always been the use of cold butter and minimal handling to prevent excessive gluten development, which would result in a tough dough.
More Historical Detail: Regional Influences and Adaptations
Digging a little deeper into the history of tartlet dough, we can consider some regional influences and adaptations:
- French Pastries: French pastries have had a major influence on the development of shortcrust pastries and tarts. Techniques such as sablage (sanding), where butter is incorporated into the flour until a sandy texture is achieved before adding liquids, are essential for achieving a tender pastry.
- English Baking: The English tradition of pies and tarts has also contributed to the evolution of these pastries. English recipes often use different types of fat and may vary in the proportions of ingredients.
- Regional Adaptations: In different countries and regions, variations on tartlet dough have been developed using local ingredients or adapting to specific tastes. For example, in some recipes, a little white wine or vinegar may be added to the dough to improve its texture.
The versatility of tartlet dough has allowed it to be adapted to a multitude of fillings, from classic seasonal fruit tarts to sophisticated chocolate tarts or savory quiches with vegetables and cheese. Its ability to be baked blank (without filling) and then filled makes it even more practical.
Ingredients & Detailed Preparation
Ingredients:
- Wheat flour: 250 g (All-purpose or baking)
- Cold butter: 125 g (Cut into small cubes)
- Egg: 1 unit (Lightly beaten)
- Icing sugar: 80 g (For sweet version)
- Salt: 1 pinch (For salted version)
- Cold water: 1 tablespoon (if needed)
Detailed Preparation:
- Prepare the ingredients: Make sure the butter is very cold and cut into small cubes. Have the lightly beaten egg and powdered sugar (or salt) ready. Have a tablespoon of cold water handy in case you need it.
- Mixing the Flour and Butter (Sand Method): In a large bowl, combine the flour and the cold butter cubes. Using your fingertips, a fork, or a pastry cutter, work the butter into the flour until you have a mixture that resembles coarse sand or crumbs. It’s important to leave small pieces of butter unbroken to make the dough more tender.
- Add the sugar (or salt): Add the powdered sugar (for the sweet version) or a pinch of salt (for the savory version) to the flour and butter mixture. Mix gently to distribute.
- Stir in the egg: Make a well in the center of the flour and butter mixture and pour in the beaten egg. Using a fork, begin incorporating the egg into the dry mixture, working from the center outward.
- Add cold water (if needed): If the dough seems too dry and won’t come together, add a tablespoon of cold water and mix gently until a dough ball forms. Don’t add more water than necessary, as this can develop gluten and make the dough tough.
- Form a ball and chill: Once the dough has come together, form it into a ball with your hands. Wrap the ball in plastic wrap and refrigerate for at least 30 minutes. This step is crucial for the butter to harden and the dough to be easier to handle.
- Roll out the dough: After refrigerating, remove the dough from the refrigerator and place it on a lightly floured surface. Using a rolling pin, roll it out to the desired thickness (approximately 3-4 mm). Turn the dough while rolling to ensure it’s even and doesn’t stick to the surface.
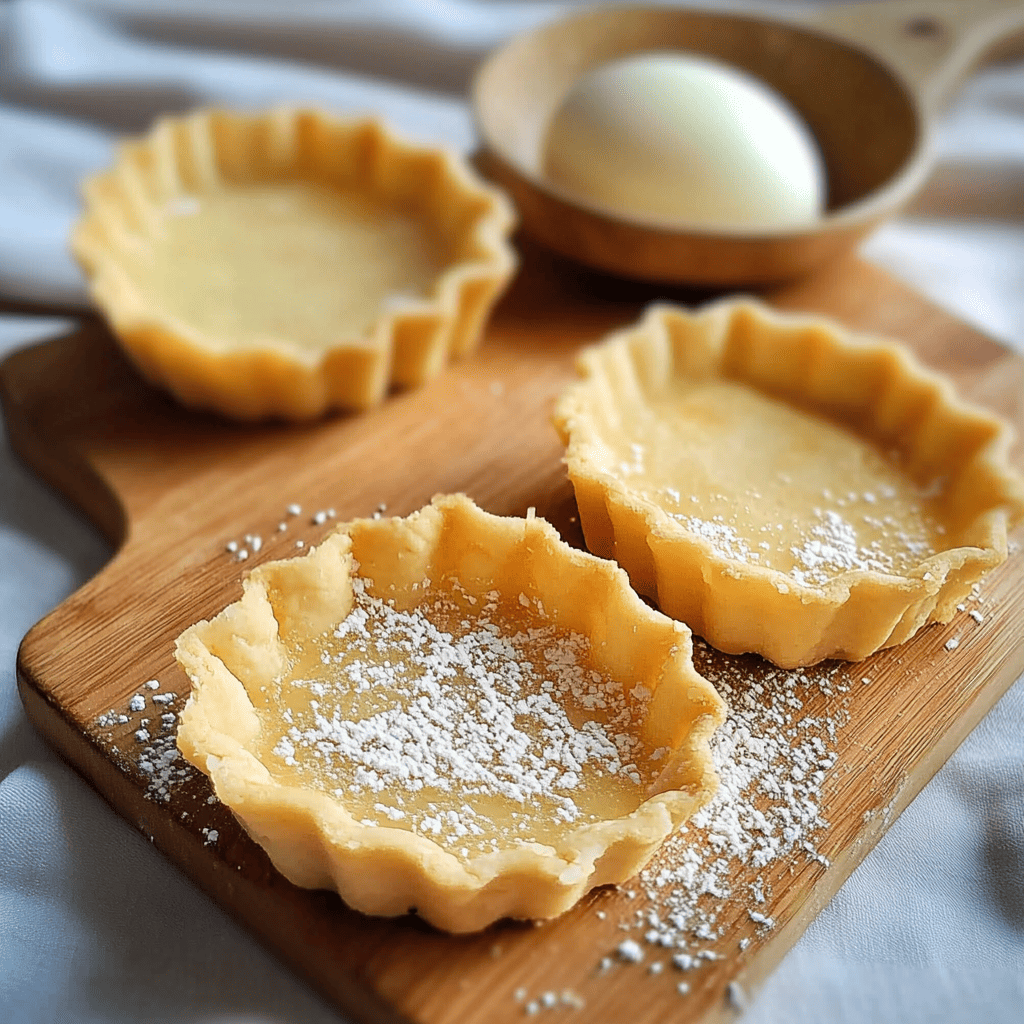
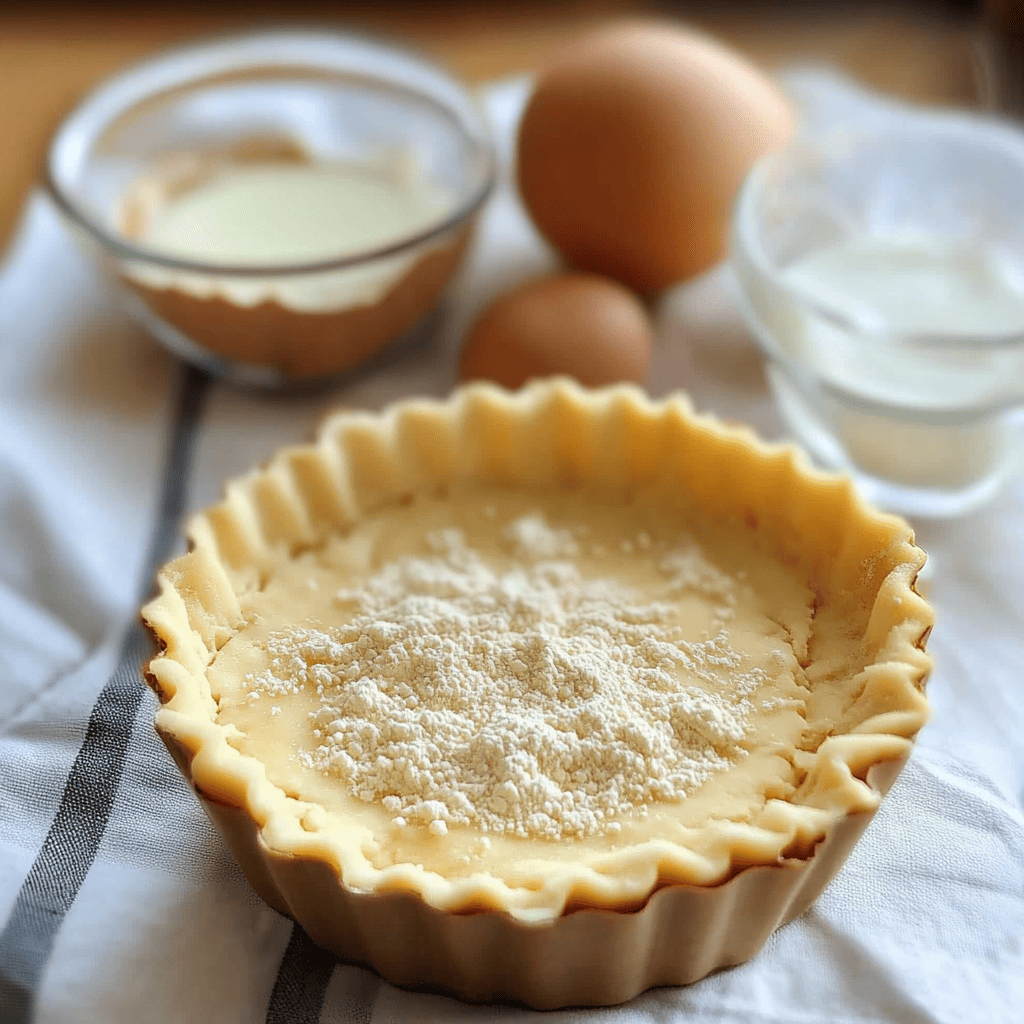
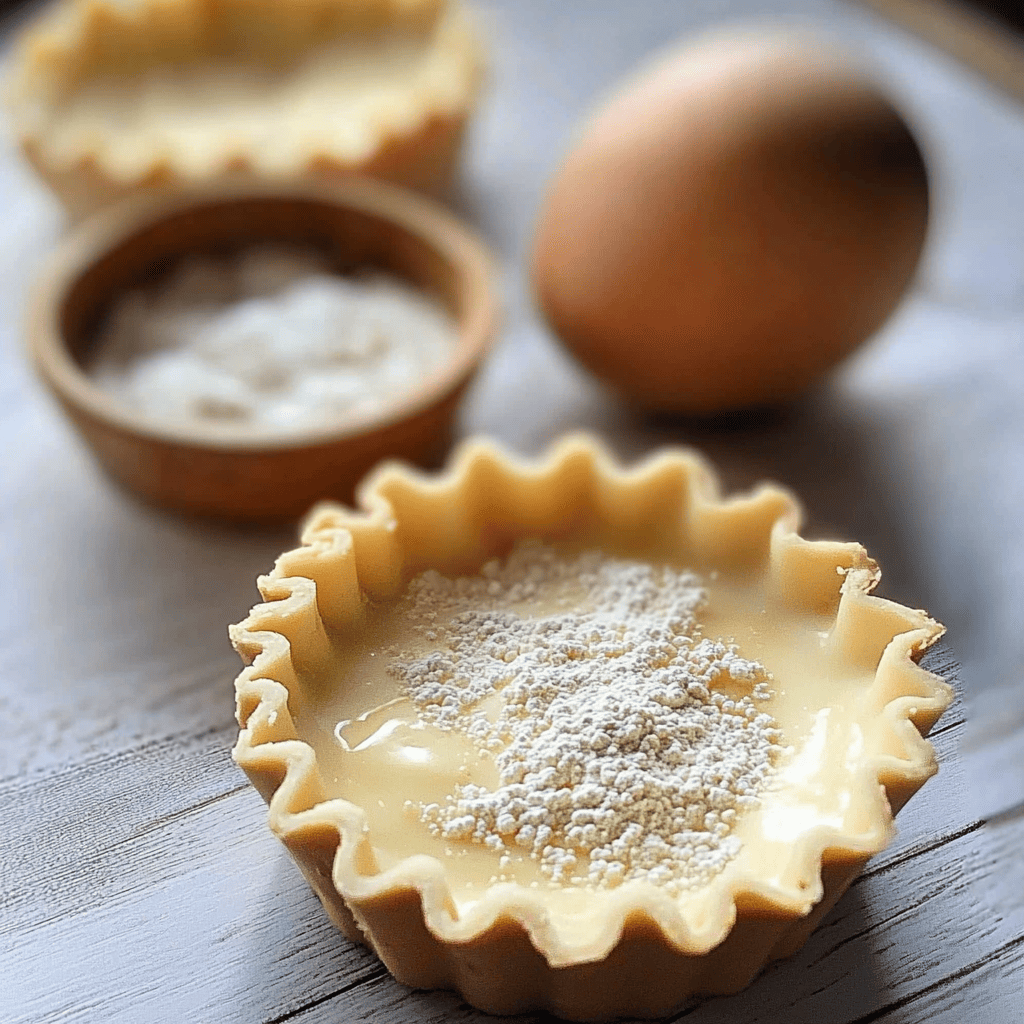
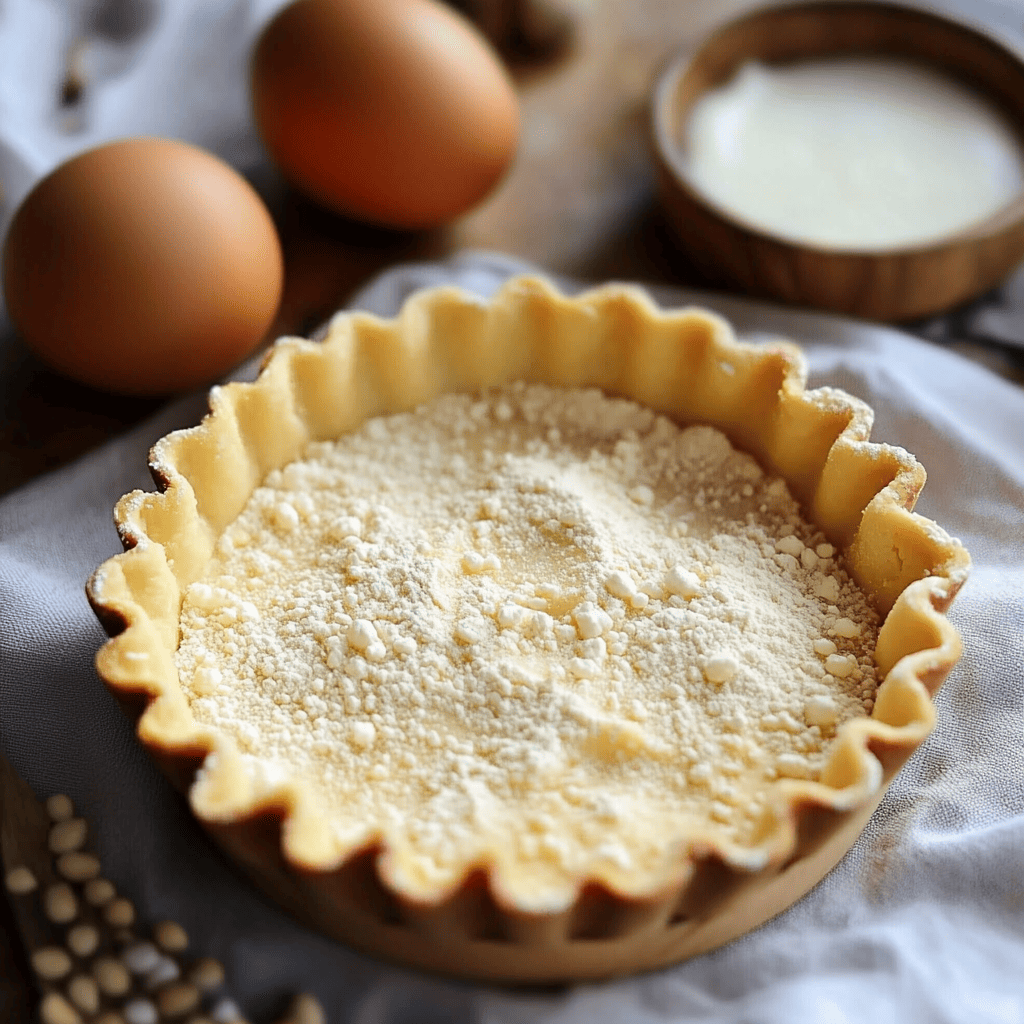
- Line the pans: Place the rolled-out pastry into the tartlet pans. Gently press the pastry against the bottom and sides of the pans, making sure there are no air bubbles. Trim any excess pastry from the edges with a knife.
- Prick the crust (optional): Prick the bottom of the pastry with a fork several times. This will prevent it from puffing up during baking.
- Bake blank (if necessary): If you’re filling the tartlet with a filling that doesn’t require baking or that requires a different baking time than the pastry, you can bake the crust blank. To do this, place a piece of baking paper over the pastry and fill it with baking weights (or dried beans or rice). Bake in a preheated oven at 180°C (350°F) for about 15-20 minutes. Then, remove the weights and paper and bake for another 5-10 minutes until the crust is lightly browned and crispy.
- Filling and Baking (if needed): If the filling requires baking along with the dough, simply pour the filling into the pastry case and bake according to the specific recipe.
Estimated Preparation Time
- Preparation: 20-25 minutes (mix ingredients, form the dough)
- Cooling: Minimum 30 minutes
- Stretching and lining molds: 15-20 minutes
- Baked in white (optional): 20-30 minutes
- Total time: Approximately 1 hour – 1 hour and 15 minutes (not including baking time for the filling)
Additional Tips
- Cold butter: It is crucial that the butter is very cold to prevent it from melting during handling and ensure a tender dough.
- Don’t overwork the dough: Work the dough as little as possible to avoid gluten development, which would make the dough tough.
- Refrigeration: Refrigeration is an important step to help the dough firm up and become easier to stretch and handle.
- Bake it blank: If you’re using a moist filling, baking the crust blank will help it crisp up and not get soggy.
- Baking Weights: Using baking weights (or alternatives like dried beans or rice) when baking blanks prevents the dough from puffing up and losing its shape.
- Freezing the dough: You can prepare the dough in advance, wrap it tightly in plastic wrap, and freeze it for up to 3 months. Thaw in the refrigerator overnight before using.
Frequently Asked Questions
- Can I make this dough by hand if I don’t have a mixer? Yes, you can make this dough entirely by hand, using your fingertips or a fork to incorporate the butter into the flour.
- What type of flour is best for this dough? All-purpose flour or pastry flour work well. Pastry flour has a lower gluten content, which can result in an even more tender dough.
- Why does my dough shrink when baking? Shrinkage can occur if the dough is stretched too much when lining the pan or if it isn’t chilled enough before baking. Make sure to gently press the dough into the pan without stretching it and refrigerate it well.
Texture and Flavor
The texture of a well-made tartlet pastry is crisp and crumbly. It should be firm enough to hold the filling without becoming too soft, but also tender enough to melt easily in your mouth.
The flavor is slightly neutral in the savory version, allowing the flavors of the filling to take center stage. In the sweet version, the powdered sugar adds a delicate sweetness that perfectly complements fruit, cream, or chocolate fillings. The butter adds a touch of richness and a distinctive aroma.
Consumer Context
Tartlet dough is incredibly versatile and is used in a wide variety of preparations:
- Sweet tarts: Filled with fresh fruit (apple, strawberries, lemon), creams (pastry, chocolate), nuts, dulce de leche, etc.
- Savory tartlets: As a base for quiches, roasted vegetable tartlets, cheese, ham, mushrooms, caramelized onions, etc.
- Appetizers: In mini format for canapés and savory snacks with various fillings.
- Individual Desserts: Tartlets are perfect for serving individual portions of elegant desserts.
Visual Aspect
Baked tartlet pastry has a pale golden color and a slightly crumbly texture. The edges often have a wavy or decorative appearance, depending on the pan used. When baked blank, the crust should be smooth and bubble-free. Once filled, the appearance will depend on the filling used, but the crisp crust always provides an attractive contrast.
Curiosities
- The difference between shortcrust pastry and puff pastry: Although both are flour- and fat-based doughs, shortcrust pastry has a more crumbly texture due to the way the fat is incorporated (no layers), while puff pastry has multiple layers of dough and fat that create a light, flaky texture.
- Blind baking: Baking unfilled dough with weights is a crucial technique to prevent puffing and ensure a crispy base for moist fillings.
Nutritional Value (Estimated per Serving – base of a small tartlet)
Please note that these values are approximate and may vary depending on the serving size and exact amounts of ingredients used.
- Calories: 200-250 kcal
- Protein: 4-5 g (mainly from flour and egg)
- Fat: 12-15 g (mainly from butter)
- Saturated fat: 8-10 g
- Carbohydrates: 20-25 g (mainly from flour and powdered sugar)
- Sugars: 8-12 g (in the sweet version)
- Fiber: 1-2 g (from flour)
- Sodium: Variable (depending on whether salt is added)
Additional Benefits and Interesting Facts
- Versatile: It serves as a base for an infinite number of sweet and savory preparations.
- Can be prepared in advance: Makes it easier to organize your kitchen.
- Allows for creativity: Ideal for experimenting with different fillings and presentations.
Other Information
- Storage: Raw dough can be refrigerated for up to 2-3 days or frozen for up to 3 months. Baked crusts can be stored at room temperature in an airtight container for a couple of days.
- Adaptations: Gluten-free versions can be made using alternative flours.
Conclusion: The Crispy Foundation of Your Culinary Creations
Tartlet dough is much more than a simple base; it’s the crunchy foundation upon which countless sweet and savory delights are built. Its simplicity of preparation and versatility make it an indispensable element in the kitchen of any amateur or professional. Mastering the technique for creating a tender and crispy dough will open up a world of culinary possibilities, allowing you to surprise and delight everyone with your creations. Go ahead and make it and discover the endless flavors it can hold!