
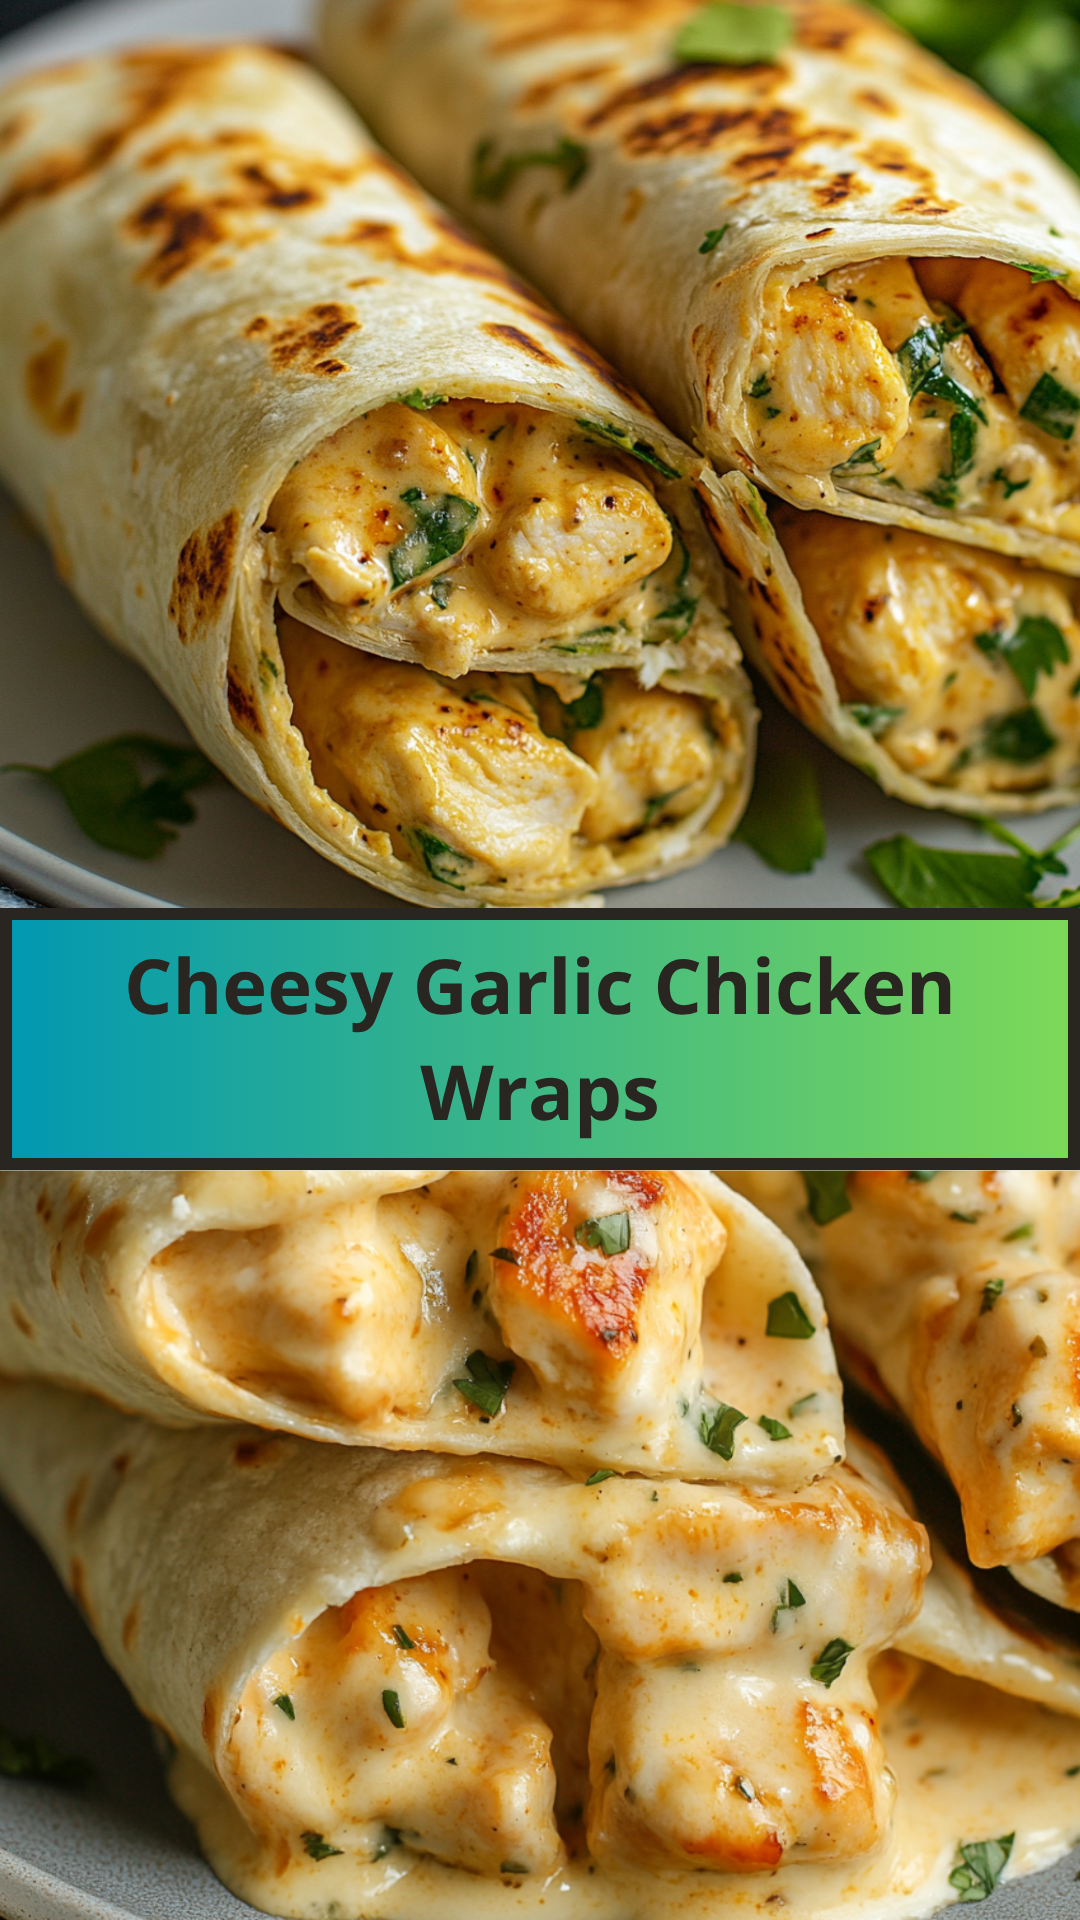
The BEST Cheesy Garlic Chicken Wraps
A Symphony of Flavor in Every Bite: From Our Kitchen to Your Table
Imagine the comforting warmth of perfectly cooked chicken, infused with aromatic garlic, nestled within a luxurious blanket of melted cheese, all wrapped securely in a soft tortilla. This isn’t just a wrap; it’s a culinary experience designed to delight your taste buds. Our “Cheesy Garlic Chicken Wrap” recipe takes inspiration from the universal love for garlic bread, creamy sauces, and the sheer convenience of a hand-held meal. It’s a versatile dish that transitions effortlessly from a quick weeknight dinner to a vibrant lunch option, or even a crowd-pleasing appetizer for your next gathering.
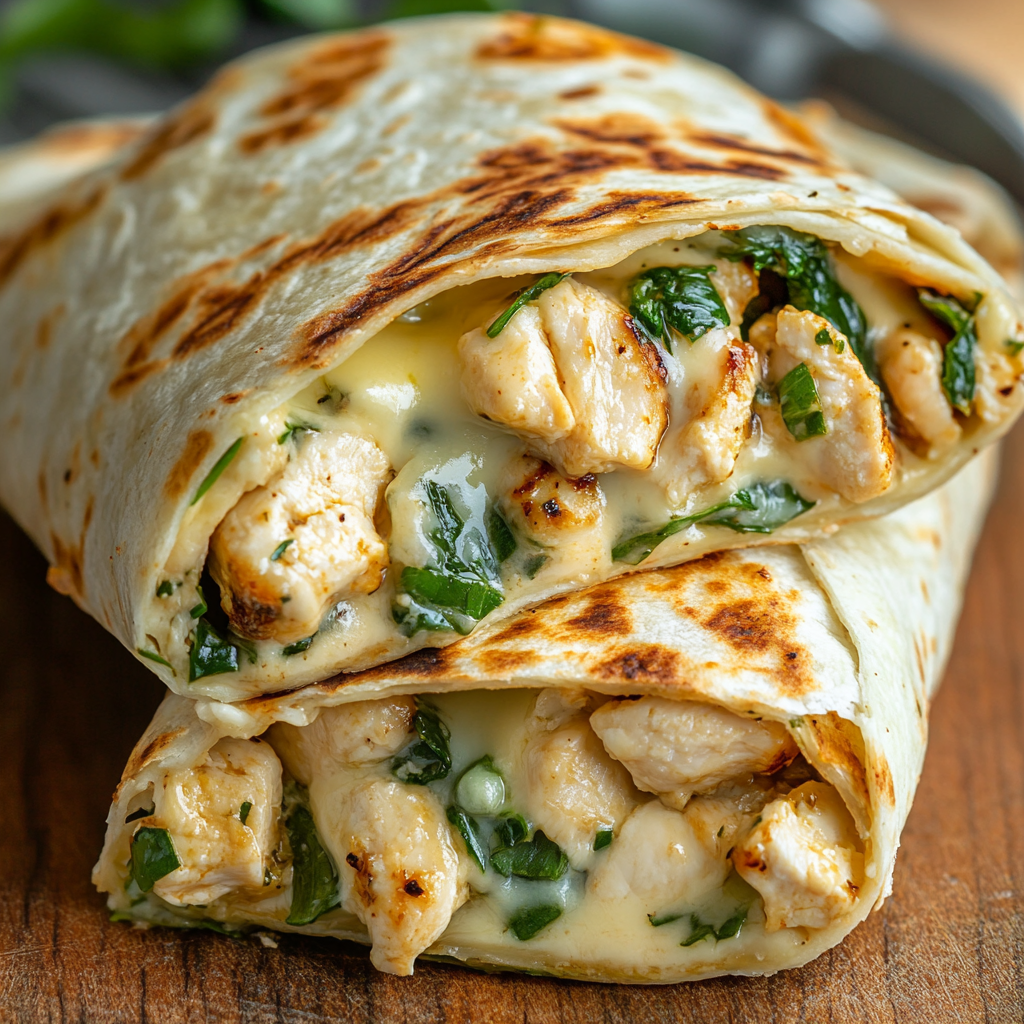
The beauty of this recipe lies in its balance: the savory depth of chicken, the pungent warmth of fresh garlic, the rich creaminess of a blended cheese spread, and the textural satisfaction of a perfectly toasted tortilla. We’ve meticulously crafted each component to ensure maximum flavor impact and an unforgettable eating experience. Forget dry, bland wraps; prepare for a juicy, garlicky, and irresistibly cheesy sensation that will have everyone asking for more.
Yields: 6-8 Wraps
Prep time: 25-30 minutes
Cook time: 20-25 minutes
Ingredients:
For the Garlic Chicken:
- 1.5 lbs (approx. 680g) boneless, skinless chicken breasts or thighs, cut into 1/2-inch cubes
- Note on Selection: Chicken thighs offer more moisture and flavor, while breasts are leaner. Choose based on preference. Cubing ensures even cooking and better distribution in the wrap.
- 1 tablespoon olive oil (extra virgin preferred for flavor)
- 1 teaspoon garlic powder
- 1/2 teaspoon onion powder
- 1/2 teaspoon smoked paprika (optional, for depth)
- 1/4 teaspoon black pepper, freshly ground
- 1/2 teaspoon salt, or to taste
For the Cheesy Garlic Spread:
- 8 oz (226g) cream cheese, softened at room temperature (full-fat recommended for creaminess)
- Tip: Soften by leaving on the counter for 30-60 minutes, or microwave for 15-20 seconds.
- 4-6 cloves fresh garlic, minced very finely (adjust to your garlic preference; 6 cloves for intense garlic flavor)
- Note on Garlic: Fresh garlic is paramount here for its vibrant, pungent flavor. Garlic powder can’t replicate this.
- 1/2 cup (about 50g) shredded Monterey Jack cheese
- 1/2 cup (about 50g) shredded mozzarella cheese (low-moisture, part-skim works well)
- Cheese Blend: This combination provides excellent melt and a mild, creamy flavor that complements the garlic without overpowering.
- 2 tablespoons fresh parsley, finely chopped (adds freshness and a pop of color)
- 1/4 teaspoon black pepper
For the Wraps & Assembly:
- 6-8 large (10-12 inch) flour tortillas (burrito-sized are ideal for generous filling)
- Tortilla Quality: Choose soft, pliable tortillas that won’t crack when rolled. Whole wheat or spinach tortillas can be used for variations.
- Optional additions for fresh crunch:
- 1 cup shredded lettuce (iceberg or romaine for crispness)
- 1/2 cup diced tomatoes
Equipment:
- Large skillet or cast iron pan
- Medium mixing bowl
- Small bowl for seasoning chicken
- Spatula or cooking spoon
- Cutting board and sharp knife
- Cheese grater (if not using pre-shredded cheese)
- Microwave-safe plate or dry skillet (for warming tortillas)
Detailed Instructions:
Part 1: Preparing the Flavorful Garlic Chicken
- Prepare the Chicken: Begin by patting your chicken cubes dry with paper towels. This crucial step helps achieve a better sear and prevents the chicken from steaming. In a small bowl, combine the garlic powder, onion powder, smoked paprika (if using), black pepper, and salt. Sprinkle this seasoning mixture generously over the cubed chicken, tossing well to ensure every piece is evenly coated. This infuses the chicken with a foundational layer of savory, aromatic flavor.
- Cook the Chicken: Heat the olive oil in a large skillet over medium-high heat. Allow the pan to get hot, but not smoking. Once the oil shimmers, carefully add the seasoned chicken cubes to the skillet in a single layer, ensuring not to overcrowd the pan. Cooking in batches may be necessary if your skillet isn’t large enough. Overcrowding will steam the chicken instead of searing it, resulting in a less desirable texture.
- Cook the chicken for 4-6 minutes per side, turning occasionally, until it’s golden brown on the outside and cooked through. The internal temperature should reach 165°F (74°C). Once cooked, remove the chicken from the skillet and set aside. Keep it covered loosely with foil to retain warmth and juices while you prepare the other components.
Part 2: Crafting the Irresistible Cheesy Garlic Spread
- Soften Cream Cheese: Ensure your cream cheese is at room temperature. This is vital for a smooth, lump-free spread. If you’re short on time, remove the cream cheese from its foil wrapper and microwave it in a microwave-safe bowl for 15-20 seconds on high power, just until softened but not melted.
- Mince the Garlic: Peel and finely mince the fresh garlic cloves. The finer the mince, the better the garlic flavor will integrate into the spread without large, crunchy bits. Alternatively, you can use a garlic press for a very fine texture.
- Combine Ingredients: In a medium mixing bowl, combine the softened cream cheese, finely minced fresh garlic, shredded Monterey Jack cheese, shredded mozzarella cheese, finely chopped fresh parsley, and black pepper.
- Mix Thoroughly: Using a sturdy spoon or a rubber spatula, mix all the ingredients together until they are thoroughly combined and the mixture is uniform and creamy. You want to ensure the garlic and cheeses are evenly distributed throughout the cream cheese base. This spread is the heart of your wrap, providing intense flavor and luscious texture. Taste a tiny bit and adjust seasoning if desired, though the cheeses and chicken will add sufficient salt.
Part 3: Expert Assembly of Your Cheesy Garlic Chicken Wraps
- Warm the Tortillas (Crucial Step!): Warming your tortillas is an absolute non-negotiable for the best wrap experience. Warm tortillas become soft and pliable, making them easier to roll without cracking or tearing, and they enhance the overall mouthfeel.
- Microwave Method: Stack 2-3 tortillas on a microwave-safe plate, cover with a damp paper towel, and microwave for 15-20 seconds. Repeat for remaining tortillas.
- Skillet Method: Heat a dry skillet over medium heat. Place one tortilla in the skillet for 15-20 seconds per side, just until it softens and gets a few warm spots. Repeat for all tortillas.
- Spread the Cheesy Garlic Goodness: Lay one warm tortilla flat on a clean work surface. Spoon about 2-3 tablespoons of the prepared Cheesy Garlic Spread onto the center of the tortilla. Using the back of the spoon, spread the mixture evenly over the entire surface of the tortilla, leaving about a 1-inch border clear around the edges. This ensures every bite has that cheesy garlic punch.
- Layer the Chicken: Arrange a portion of the cooked garlic chicken cubes over the cheesy garlic spread, concentrating them slightly below the center of the tortilla. Aim for about 1/4 to 1/3 cup of chicken per wrap, depending on your desired fullness.
- Add Optional Freshness: If using, sprinkle a small handful of shredded lettuce and a few diced tomatoes over the chicken. These additions provide a refreshing crunch and contrast to the rich filling.
- Master the Roll (The Key to a Great Wrap):
- Fold the Sides: Take the left and right sides of the tortilla and fold them inward, over the filling, by about 1.5 to 2 inches. This creates a neat “envelope” that prevents filling from escaping.
- Fold the Bottom: Take the bottom edge of the tortilla (the edge closest to you) and fold it up tightly over the filling. Tuck it snugly underneath the filling as you start to roll.
- Roll Tightly: Continue to roll the tortilla upwards from the bottom, maintaining a tight roll as you go. The goal is to create a compact, cylindrical shape. The tighter the roll, the less likely the wrap is to fall apart when eaten.
- Place the finished wrap seam-side down on a plate or cutting board. Repeat the process with the remaining tortillas and filling.
Part 4: Finishing Touches and Serving
- Optional Toasting for Extra Delight (Highly Recommended!): To elevate your wraps to the next level of deliciousness, lightly toast them. This step melts the cheese even further, crisps the tortilla exterior, and warms the entire wrap beautifully.
- Skillet Method: Heat a clean, dry skillet or a grill pan over medium heat. Place the assembled wraps, seam-side down, in the hot pan. Cook for 2-3 minutes per side, or until golden brown and the cheese is visibly melted and gooey inside.
- Air Fryer Method: Place 1-2 wraps in your air fryer basket. Air fry at 375°F (190°C) for 4-6 minutes, flipping halfway, until golden and crispy.
- Serve: Once toasted (or simply served as is), you can slice each wrap in half diagonally for an attractive presentation and easier eating. Serve immediately while warm and the cheese is still wonderfully melty.
Tips for Success & Common Pitfalls:
- Don’t Overfill: This is the most common mistake! Too much filling makes rolling difficult and can lead to burst wraps. Stick to 2-3 tablespoons of spread and a proportionate amount of chicken.
- Pat Chicken Dry: Excess moisture on the chicken will steam it rather than sear it, preventing that delicious golden crust.
- Fresh Garlic is Key: While garlic powder is used for seasoning the chicken, the fresh minced garlic in the spread is non-negotiable for that authentic, bright garlic flavor.
- Warm Tortillas: Seriously, don’t skip this. Cold tortillas crack.
- Tight Roll: A loose roll means a messy wrap. Practice makes perfect for a snug, secure wrap.
- Adjust Seasoning: Always taste your components (especially the chicken and the cheese spread) and adjust salt and pepper to your preference.
- Preventing Sogginess: If preparing ahead, keep the chicken and sauce separate from the tortillas and fresh veggies until just before assembly. Toasting immediately before serving also helps.
Variations & Customizations:
- Protein Alternatives:
- Ground Chicken/Turkey: Cook and season similarly to cubed chicken.
- Shrimp: Sautéed shrimp with garlic would be fantastic.
- Vegetarian: Use seasoned roasted chickpeas, black beans, or grilled halloumi cheese as the protein base.
- Cheese Varieties:
- Experiment with other good melting cheeses like provolone, white cheddar, or a Mexican blend for different flavor profiles. A touch of Parmesan in the spread can add a nutty depth.
- Vegetable Additions:
- Spinach: Wilted spinach can be added to the chicken mixture or directly into the spread.
- Roasted Red Peppers: Adds sweetness and color.
- Caramelized Onions: For an even deeper, sweeter onion flavor.
- Sautéed Mushrooms: A great earthy addition.
- Spice Level:
- Add a pinch of red pepper flakes to the chicken seasoning or the cheese spread for a subtle kick. A dash of hot sauce in the spread or for dipping also works.
- Herb Variations:
- Substitute or add other fresh herbs like chives or dill to the cheesy garlic spread for different aromatic notes.
- Wrap Alternatives:
- Lettuce Wraps: For a low-carb option, use large lettuce leaves (like butter lettuce or iceberg) instead of tortillas.
- Pita Bread: Fill and toast pita bread for a different texture.
- Toasting Variations:
- Beyond skillet and air fryer, you can grill the wraps on an outdoor grill for smoky flavor, or bake them in an oven at 375°F (190°C) for 8-10 minutes.
Serving Suggestions:
These Cheesy Garlic Chicken Wraps are robust enough to be a complete meal on their own, but they also pair wonderfully with:
- A crisp green salad with a light vinaigrette.
- A side of homemade or store-bought potato chips.
- French fries or sweet potato fries.
- A bowl of creamy tomato soup for dipping.
- Extra dipping sauces like ranch, sriracha mayo, or even just extra ketchup for a classic burger-like feel.
Storage & Reheating:
- Components Separated: For best results and to prevent sogginess, it’s ideal to store the cooked chicken and the cheesy garlic spread separately in airtight containers in the refrigerator for up to 3-4 days. Store fresh veggies separately as well. Assemble the wraps just before serving.
- Assembled Wraps: If you must assemble them ahead, wrap each tightly in plastic wrap and refrigerate for no more than 1 day. The tortillas may absorb some moisture from the filling over time, leading to a softer texture.
- Reheating:
- Air Fryer (Recommended): The best method for regaining crispness. Air fry assembled wraps at 350°F (175°C) for 5-8 minutes, or until heated through and crispy.
- Skillet: Reheat in a dry skillet over medium heat for 3-5 minutes per side until warmed through and tortillas are crisp.
- Microwave (Least Recommended for Texture): While quickest, microwaving will make the tortillas soft and less appealing. Heat for 30-60 seconds, checking for warmth.