
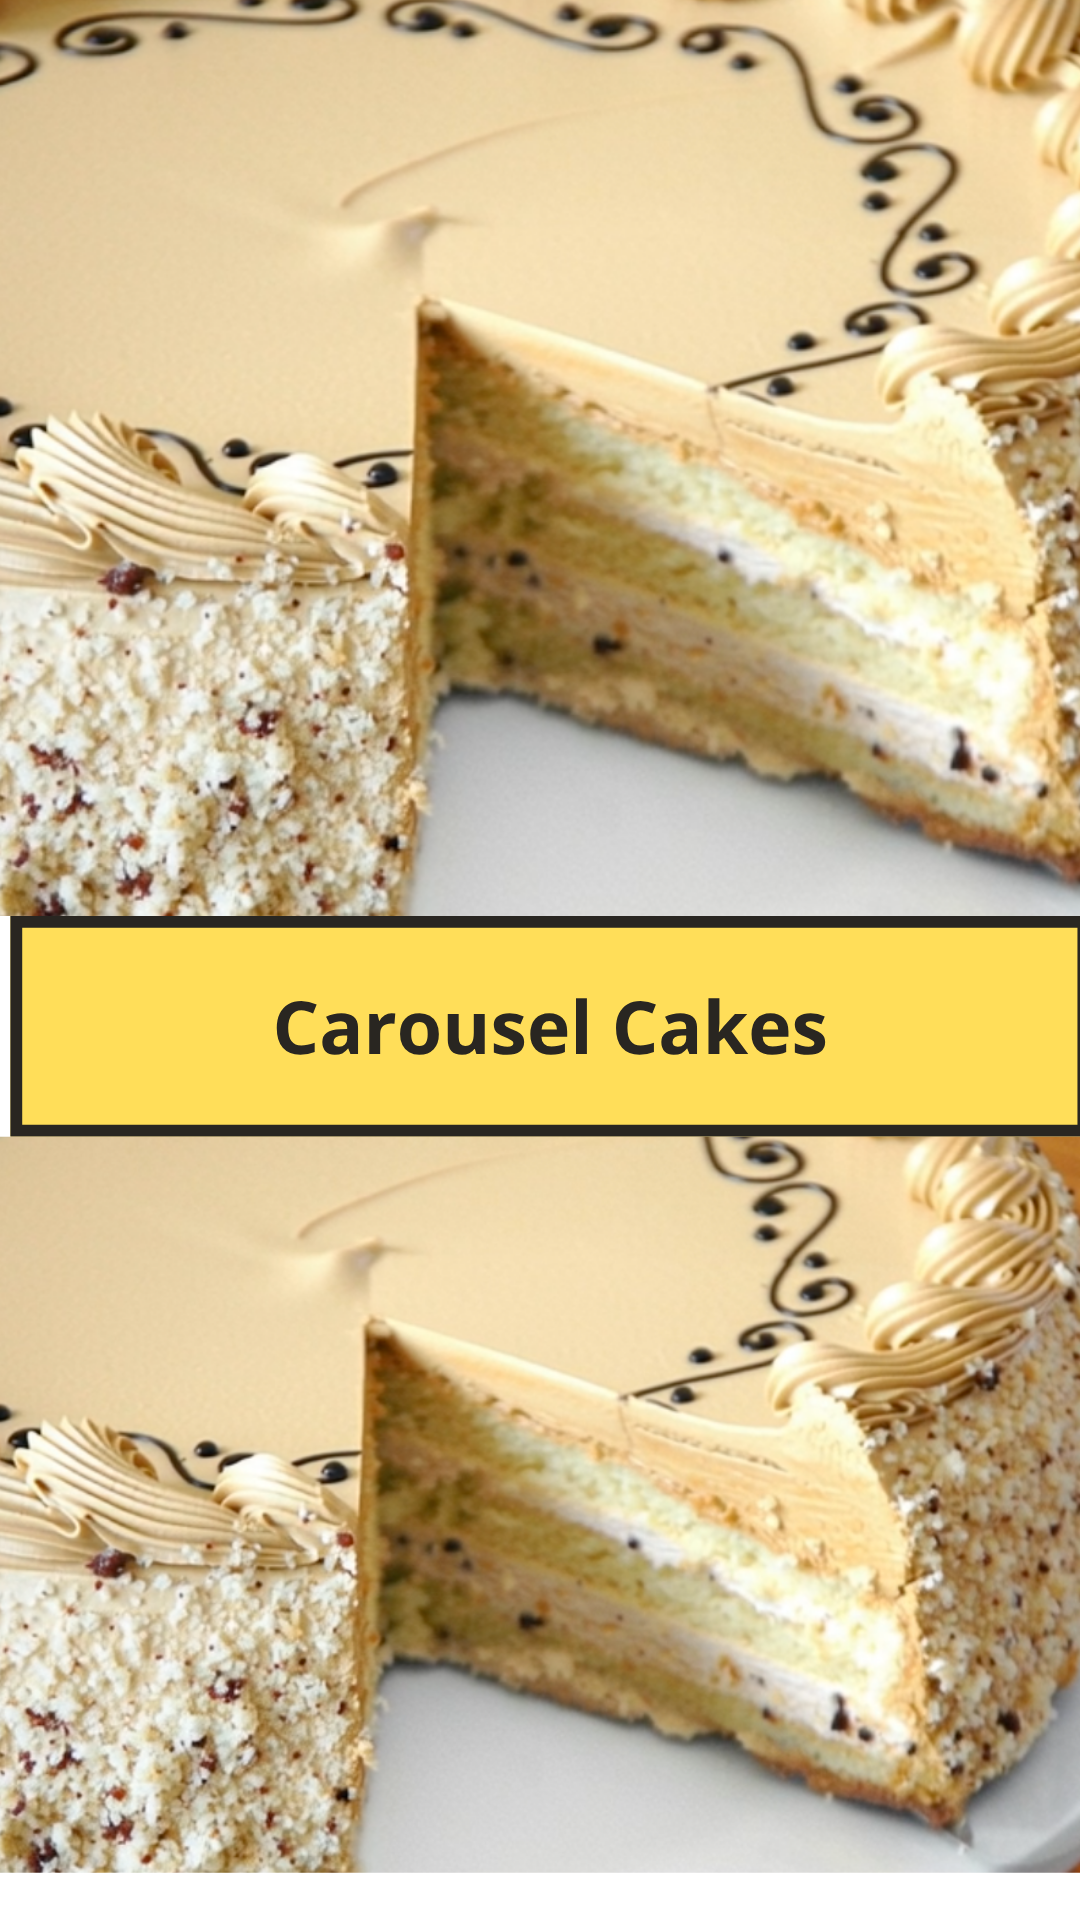
The BEST Classic Red Velvet Cake with Tangy Cream Cheese Frosting 🎂❤️🍰
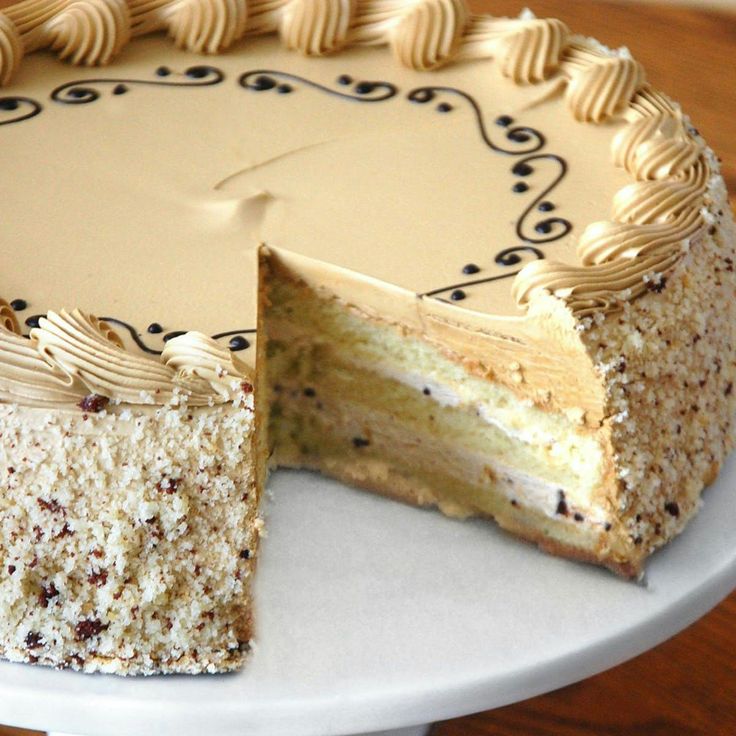
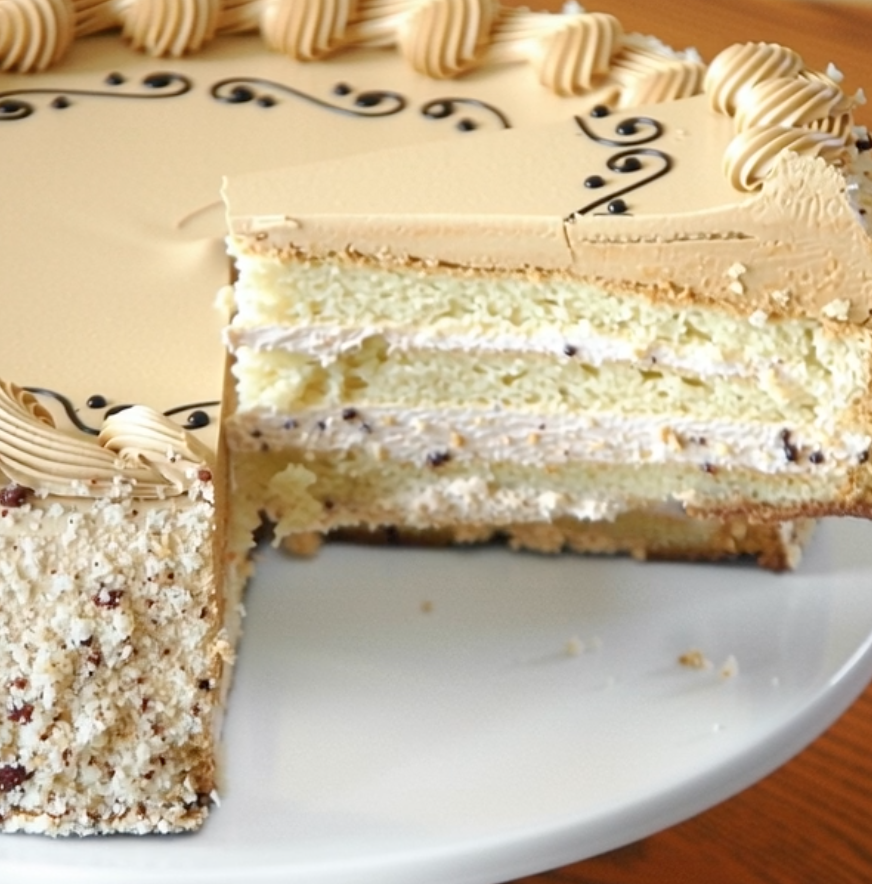
Indulge in a slice of pure decadence with this BEST Classic Red Velvet Cake! This isn’t just a cake; it’s an experience—a moist, tender crumb with a subtle hint of cocoa, vibrant red color, and crowned with a luscious, tangy cream cheese frosting. It’s the perfect showstopper for any celebration, embodying the rich, comforting essence that makes cakes from places like Carousel Cakes so beloved.
What Makes This “The Best”: Moisture, Flavor, and Perfect Frosting ✨
This recipe is designed to deliver all the hallmarks of a truly exceptional Red Velvet Cake:
- Moist & Tender Crumb: A combination of buttermilk, oil, and a touch of vinegar ensures a light, airy, and incredibly moist cake.
- Vibrant Red Color: Using both cocoa powder and food coloring creates the iconic deep red hue while retaining the subtle chocolate flavor.
- Balanced Flavor: A hint of cocoa and vanilla perfectly complements the slight tang from the buttermilk and vinegar.
- Rich Cream Cheese Frosting: This frosting is the essential counterpart to the cake, offering a tangy sweetness that balances the cake’s richness.
- Easy to Assemble: While a layer cake looks impressive, the steps are straightforward for a stunning result.
Ingredients: Your Red Velvet Arsenal 🛒
This recipe makes one 2-layer 8-inch cake (approx. 12-16 servings) or 24 cupcakes.
I. For the Red Velvet Cake:
- 2 ½ cups (300g) All-Purpose Flour, sifted
- 1 ½ cups (300g) Granulated Sugar
- 1 tsp Baking Soda
- 1 tsp Salt
- 1 tsp Unsweetened Cocoa Powder (natural, not Dutch-processed, for better color reaction)
- 1 cup (240ml) Vegetable Oil (or other neutral oil)
- 1 cup (240ml) Buttermilk, at room temperature
- 2 large Eggs, at room temperature
- 2 tbsp (30ml) Red Food Coloring (liquid or gel for intense color)
- 1 tsp White Distilled Vinegar
- 1 tsp Vanilla Extract
II. For the Cream Cheese Frosting:
- 16 oz (450g) Cream Cheese, full-fat, softened to room temperature
- 1 cup (226g) Unsalted Butter, softened to room temperature
- 4-5 cups (480-600g) Powdered Sugar (confectioners’ sugar), sifted, to taste
- 1-2 tsp Vanilla Extract
- Pinch of Salt (balances sweetness)
Equipment Needed:
- Two 8-inch round cake pans
- Parchment paper
- Large mixing bowls
- Electric mixer (stand mixer or hand mixer)
- Spatulas and whisk
- Wire cooling racks
Preparation Pas-à-Pas: Crafting Your Red Velvet Dream 📝
Part 1: The Red Velvet Cake (Preparation: 20 min | Bake: 25-30 min)
- Preheat Oven & Prep Pans: Preheat your oven to 350°F (175°C). Grease and flour two 8-inch round cake pans. Line the bottoms with parchment paper, then grease and flour the parchment too.
- Combine Dry Ingredients: In a large bowl, whisk together the sifted flour, granulated sugar, baking soda, salt, and cocoa powder. Make sure there are no lumps.
- Combine Wet Ingredients: In a separate medium bowl, whisk together the vegetable oil, buttermilk, eggs, red food coloring, white vinegar, and vanilla extract until well combined.
- Combine Wet and Dry: Pour the wet ingredients into the dry ingredients. Beat with an electric mixer on low speed until just combined. Do not overmix! A few small lumps are okay; overmixing can lead to a tough cake. Scrape down the sides of the bowl with a spatula to ensure everything is incorporated.
- Divide and Bake: Divide the batter evenly between the two prepared cake pans.
- Bake for 25-30 minutes, or until a wooden skewer inserted into the center of the cakes comes out clean.
- Cool: Let the cakes cool in their pans on a wire rack for 10-15 minutes. Then, invert them onto the wire racks, remove the pans and parchment paper, and let them cool completely before frosting (at least 1-2 hours). Cakes must be completely cool or the frosting will melt.
Part 2: The Cream Cheese Frosting (Preparation: 10-15 min)
- Beat Cream Cheese and Butter: In a large bowl (or the bowl of a stand mixer), beat the softened cream cheese and softened unsalted butter together on medium speed until perfectly smooth and creamy, with no lumps (about 2-3 minutes).
- Add Powdered Sugar: Gradually add the sifted powdered sugar, one cup at a time, beating on low speed until combined, then increasing to medium-high until smooth after each addition.
- Add Vanilla & Salt: Beat in the vanilla extract and pinch of salt. Continue beating on medium-high speed for another 1-2 minutes until the frosting is light, fluffy, and smooth. If it’s too thick, add a tiny splash of milk or cream. If it’s too thin, add a bit more sifted powdered sugar.
Part 3: Assemble the Cake (Preparation: 10-15 min)
- Level Cakes (Optional): If your cake layers have domed tops, use a serrated knife to carefully level them, creating a flat surface for easier stacking.
- First Layer: Place one cooled cake layer on your serving plate or cake stand.
- Frosting Between Layers: Spread about 1 to 1 ½ cups of cream cheese frosting evenly over the top of the first cake layer.
- Second Layer: Carefully place the second cake layer on top.
- Crumb Coat (Optional but Recommended): Apply a thin, even layer of frosting all over the top and sides of the entire cake. This is called a “crumb coat” and it traps any loose crumbs, ensuring your final frosting layer is smooth. Refrigerate the cake for 15-20 minutes to set the crumb coat.
- Final Frosting: Once the crumb coat is set, apply the remaining cream cheese frosting to the top and sides of the cake, using an offset spatula or knife to create swirls or a smooth finish.
- Decorate (Optional): You can decorate with some red velvet cake crumbs (from the leveled tops), fresh berries, or chocolate shavings.
- Chill: For best slicing and setting, refrigerate the finished cake for at least 30 minutes before serving.
Pro Tips for the BEST Red Velvet Cake ✨
- Room Temperature Ingredients: This is crucial for a smooth batter and frosting. Cold ingredients don’t emulsify properly, leading to lumpy batter and separated frosting.
- Don’t Overmix: Overmixing develops gluten in the flour, resulting in a tough cake. Mix only until ingredients are just combined.
- Sift Dry Ingredients & Powdered Sugar: This prevents lumps and ensures a smoother cake batter and frosting.
- Natural Cocoa Powder: For that true red color, use natural (non-Dutch-processed) cocoa powder. It reacts with the baking soda and buttermilk to enhance the red hue.
- Quality Food Coloring: Use a good quality gel food coloring for an intense, vibrant red without adding too much liquid.
- Cool Cakes Completely: Frosting a warm cake is a recipe for disaster—it will melt! Patience is key.
- Cream Cheese Consistency: Ensure your cream cheese and butter are properly softened for the frosting. Beat them together until perfectly smooth before adding powdered sugar to avoid lumps.
Creative Variations & Customizations 🌈
- Cupcakes: Bake the batter in cupcake liners for 18-22 minutes for delicious Red Velvet Cupcakes.
- Chocolate Chips: Fold in ½ cup of mini chocolate chips into the batter for an extra chocolatey touch.
- Boozy Twist: Add a tablespoon of bourbon or a coffee liqueur to the cake batter or frosting for an adult version.
- Nutty Garnish: Toast chopped pecans or walnuts and press them around the base of the frosted cake.
- Mini Cakes: Bake in smaller pans for adorable mini two-tier cakes.
Serving & Storage Tips 🍽️🧊🗓️
- Serving: Red Velvet Cake is best served at room temperature to allow the frosting to soften slightly and the cake’s flavors to fully shine. Remove from the refrigerator 30-60 minutes before serving.
- Storage: Store Red Velvet Cake in an airtight container in the refrigerator for up to 3-4 days due to the cream cheese frosting.
- Freezing:
- Unfrosted Cake Layers: Wrap cooled cake layers tightly in plastic wrap, then aluminum foil. Freeze for up to 1 month. Thaw at room temperature before frosting.
- Frosted Cake: For short-term freezing (up to 2 weeks), you can freeze a frosted cake. Place it in the freezer uncovered until the frosting is firm (about 1-2 hours), then wrap tightly in plastic wrap and then foil. Thaw in the refrigerator overnight before bringing to room temperature. The texture of the frosting might be slightly altered but still delicious.